How we seal a leaky chimney here at Winston’s Chimney Service is a hard question to answer. There are numerous ways and techniques we use depending on where the leak is coming from and how bad the damage is, so our approach may vary. That said, here’s a general guideline that most repair processes will follow.
Step 1: Identify the Source of the Leak
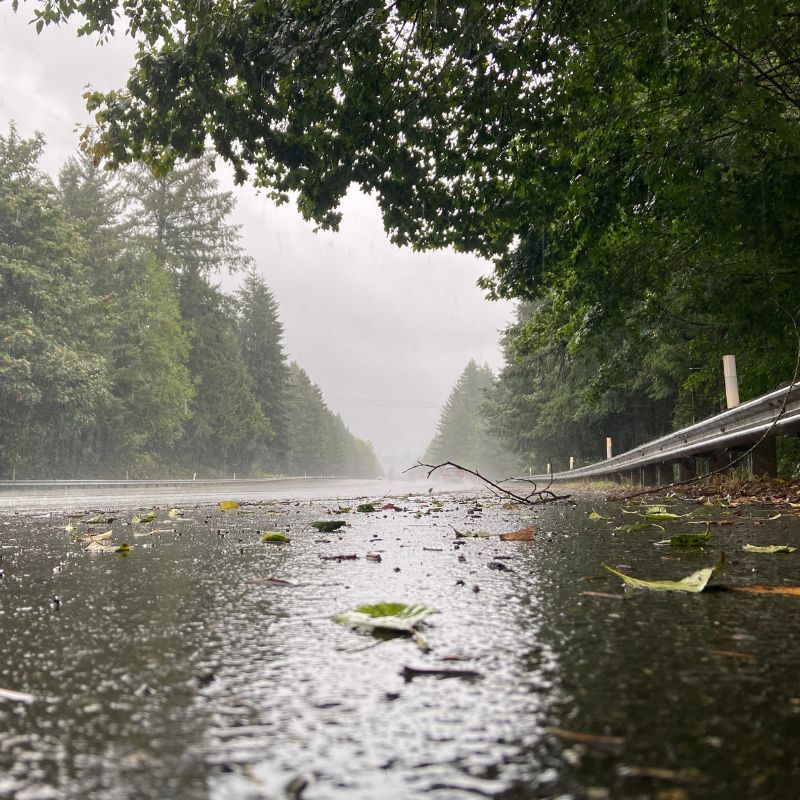
You might think figuring out where the water is getting into the chimney system is straightforward, but it’s not. Water can run 10 to 30 feet from where the actual leak is, so this can sometimes take some time to identify the source. With that said, there are several common sources of chimney leaks, including:
- Cracked or damaged chimney crown
- Faulty or deteriorated flashing
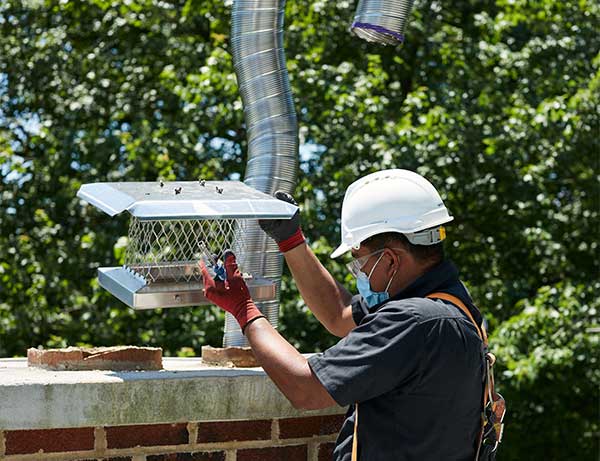
- A missing, damaged, or improperly-sized chimney cap
- Porous or flakey masonry
In order to identify the source of the leak, we most likely will need to climb up onto your roof to get a good look at your chimney. We take our time and take all necessary safety precautions so we don’t get hurt and your roof stays intact.
Most people aren’t comfortable doing this themselves, so they call Winston’s Chimney Service at 703-379-5006 to send out professional technicians and assess the situation. Reach out today if you need care.
Step 2: Gather the Materials Needed to Fix the Problem
Once we’ve identified the source of the leak, it’s time to gather the materials we’ll need to fix it. Depending on the cause of the leak, we may need some or all of the following items:
- Waterproof sealant (for masonry)
- Chimney crown repair product (for cracked or damaged crowns)
- Roof cement (for sealing flashing)
- Metal flashing (if you need to replace existing flashing)
- Chimney cap (if you need to replace a missing or damaged cap)
- Caulking gun
- Roofing nails
- Hammer
- Trowel
- Stiff brush
- Ladder
Our chimney repair crew will make sure they have everything they need before they start the repair process to avoid any delays or frustration.
Step 3: Repair the Chimney Crown (If That’s the Problem)
If the chimney crown is cracked or damaged, we’ll need to repair it to prevent water from seeping into your chimney. We’ll sweep the chimney crown with a stiff brush to remove any and all debris. We’ll apply the chimney crown repair product according to the manufacturer’s instructions, using a trowel to spread it evenly over the surface, then allow the product to dry and cure as directed by the manufacturer.
There are times we will have to replace the chimney crown due to extensive damage. If that happens we’ll chip away the damaged crown and build a frame around the top of the chimney, so we can pour the concrete crown with the proper overlays. We’ll pour the crown, let it cure, then remove the frame.
Step 4: Seal the Chimney Flashing
If the flashing is the cause of your leak, we’ll need to seal or replace it. We’ll clean the area around the flashing with a stiff brush to remove debris. What we find is most of the time the flashing has been leaking for a while and we find spongy areas under the flashing. That means the flashing really needs to be replaced.
We can use roof cement along the edge of the flashing where it meets the chimney, using a caulking gun if we think it’s not too bad. We’ll press the cement into place with a trowel, making sure it forms a watertight seal.
Doing the flashing and making the right cuts and joints is something we do all the time – and we do it well. In many instances, we do a much better job than roofers because of how many chimneys we lay flashing around.
Step 5: Install or Replace a Chimney Cap
If your chimney cap is missing, not sized correctly, or damaged, we’ll need to install a new one. One of the hardest things about caps has to do with getting the proper measurements. We have to measure the inside diameter of the chimney so we get the correct size cap.
We prefer to install full-coverage caps because they act like an umbrella to cover the entire area of the crown, not just the flue. Once the cap comes in, we’ll place the new chimney cap on top of the chimney, making sure it fits securely.
Step 6: Waterproof the Masonry
Sometimes we have people call us who have gotten on the internet, read about masonry waterproofing, and think if they just did that it would fix their chimney leak problem.
However, if you have what’s called spalling, which is the brick literally breaking up from the inside out due to freeze-thaw cycles, or a lot of damage to your brick, you must get that fixed first before applying the chimney waterproofing material.
If your brick is in good to great shape, then we can clean the chimney’s exterior surface with a stiff brush to remove any dirt, debris, or loose mortar. Then, we’ll apply the waterproof sealant according to the manufacturer’s instructions, using a brush, roller, or sprayer. We’ll allow the sealant to dry and cure as directed by the manufacturer and you’ll be good to go!
Step 7: Address Condensation Issues
Condensation in your chimney means moisture is somehow in the chimney system and it’s causing water to bead on the walls and leak as it builds up. So, we’ll need to take steps to reduce the moisture inside your chimney.
We’ll make sure your chimney is properly insulated to prevent the warm air from your fireplace from meeting the cold surface of your chimney and forming condensation. That might mean installing a new chimney liner, which can help reduce condensation by creating a barrier between the warm air and the cold surface of the chimney. We’ll also ensure that your home is well-ventilated to minimize excess humidity.
Step 8: Regular Maintenance and Inspections
While this might not help the issue with your leaky chimney right now, to prevent future leaks and keep your chimney in good condition, it’s important to schedule regular maintenance and inspections. This includes having your chimney cleaned and inspected by a certified professional chimney technician from Winston’s Chimney Service at least once a year. Regular maintenance can help identify and address potential issues before they become major problems, saving you time and money in the long run.
Can Winston’s Stop My Leaking Chimney?
Yes – we can most definitely stop a leaky chimney.
While sealing a leaky chimney may seem like a daunting task, with the knowledge, the right approach, and the right materials, our experts can tackle this project and protect your home from further water damage.
Remember – it’s always best to call a certified professional chimney expert from Winston’s Chimney Service at 703-379-5006 for chimney repairs. After which, we can keep up with regular maintenance and inspections to prevent leaks from recurring down the line.
Reach out on the phone or book online with us today.
